Dover Lifecycle
Dover support multiple addins running directly from the database you’re running from. It’s also can update itself without an SAP Business One Addon upgrade, making it really easy to create test environments and to support your customers. This article will explain how those AppDomain interact with each other and how you can benefit from this.
Dover lifecycle
Dover allways start from the database installed DLLs. This means that you can upgrade Dover without upgrading the addon. The main benefits from this approach is:
- Reduced downtime because no addon upgrade is needed
- Easy to create test environments for support. Just restore the database and you’re done with all correct versions.
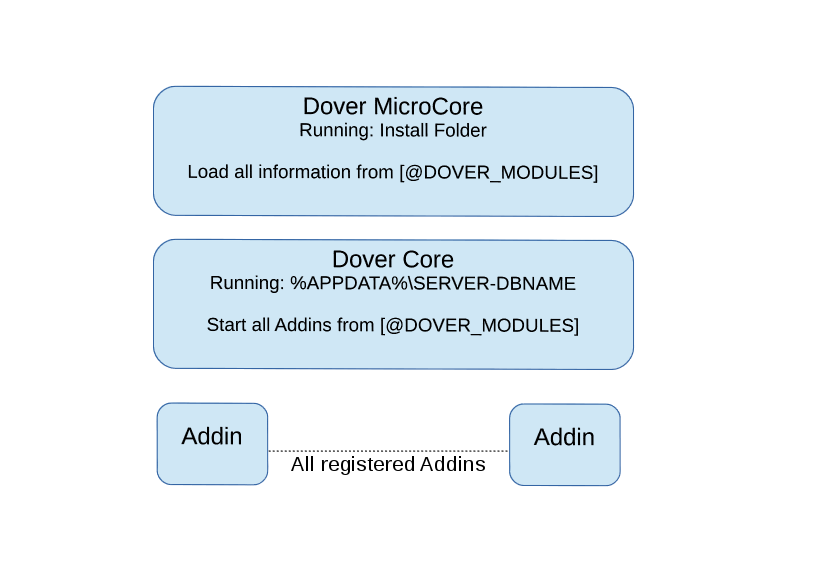
How is this even possible? At Addon startup dover runs a MicroBoot procedure that read all information from database and store it on %APPDATA%\Dover\SERVER-DBNAME, if they do not exists there or if it’s outdated. After that, all code is executed from that location with the database version, including Addin registration and startup.

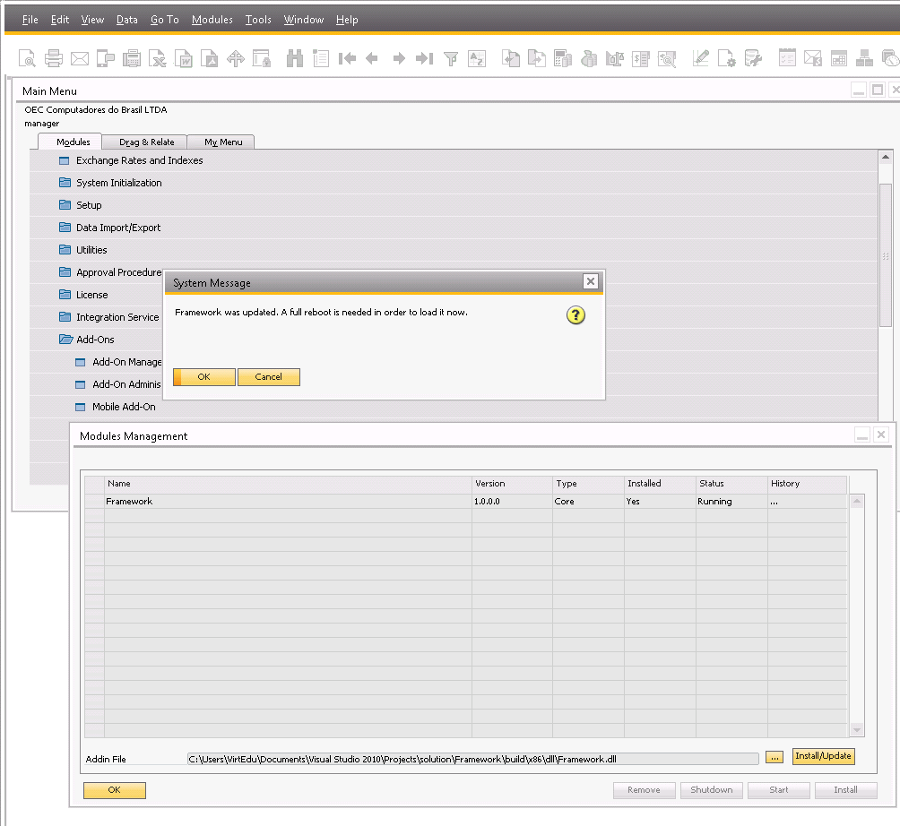
If an upgrade is done, it destroy all existings AppDomains and reboot it again, now with the updated version. First it will ask you if you want to start the reboot.

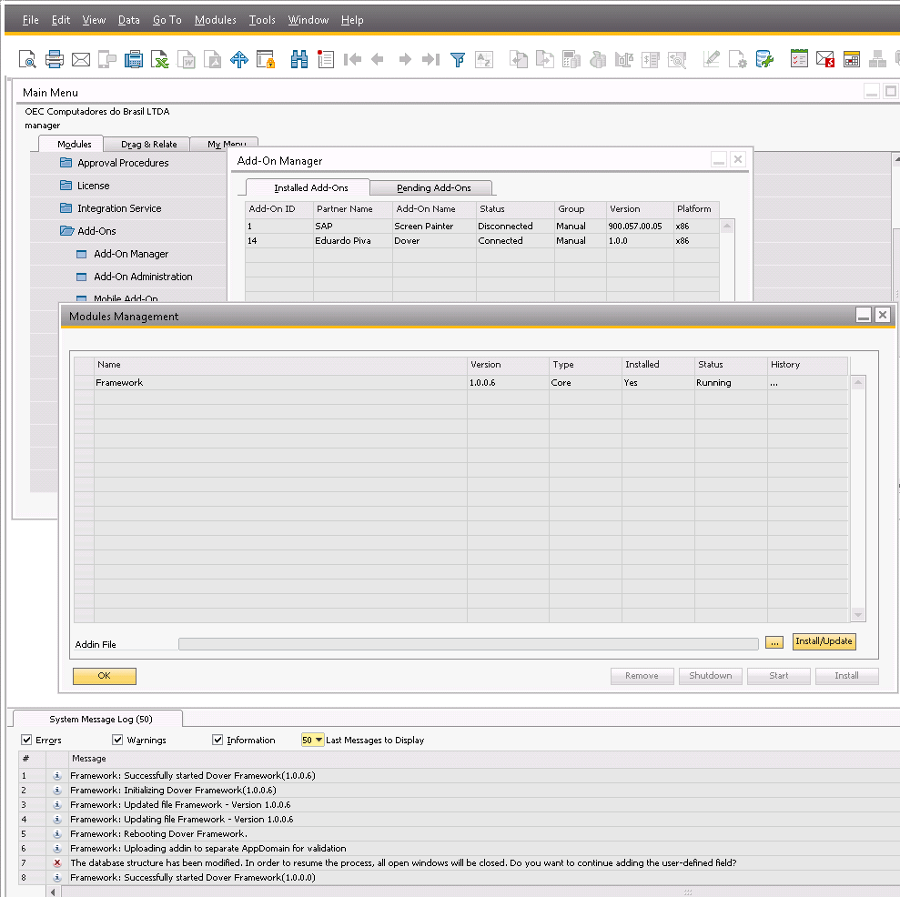
And after reboot you’re running the new version, without restarting UI-API and DI-API. That’s why it’s fast!

Notice that at MicroCore AppDomain, Dover creates SAP Business One UI-API and DI-API and share those objects among all AppDomains. This is crucial to make it possible to start Addins really fast and with a small footprint. It actualy consume less then 1Mb for each running Addin.
Addin lifecycle
With Addins, the approach is basically the same. Share UI-API and DI-API and create everything else from scratch, isolating all execution. This makes easy to maintain and also more secure, since Addins can not access each other code and static data.
It’s also possible to upgrade, remove, start and stop an Addin without restarting Dover, again reducing support.
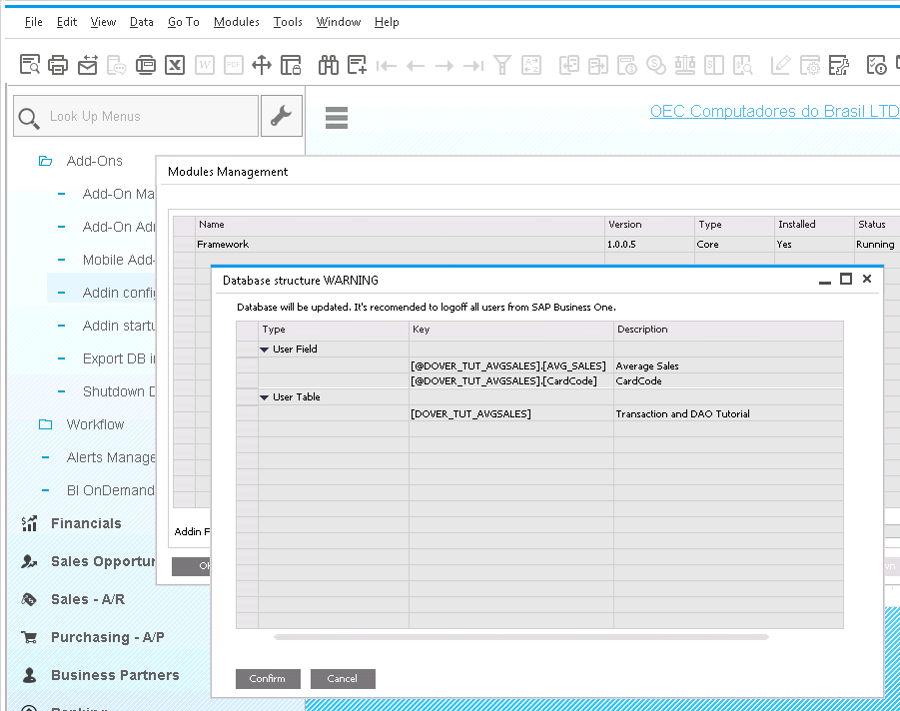
There is a special operation called Install, that register the addin the first time after you’ve successfully uploaded it to the database, that can be trigger manually or automatically at the first boot of the Addin. This operation will create all UDT/UDF/UDOs to you, when necessary, as shown below.

To know more about that, check the deploying database article.